
Replacing a Blue Glass Filter
Share
If you have owned your scope for a few years and find that the image that you are seeing isn’t as sharp and it use to be, you may need to replace the blue glass filter. This video will walk you through the steps of replacing your filter and restore your sharp views of the Sun.
Transcript
Hi, I’m Faye Roman your Lunt Customer Service representative. I wanted to talk today about blue glass replacement. Now if you’ve been using your scope for a while and notice a change in the detail, maybe you don’t have any anymore. The Sun might look like a red ball with no detail at all. It may be time to check out your blue glass on your blocking filter. Now we’re going to call this BG for the rest of the video.
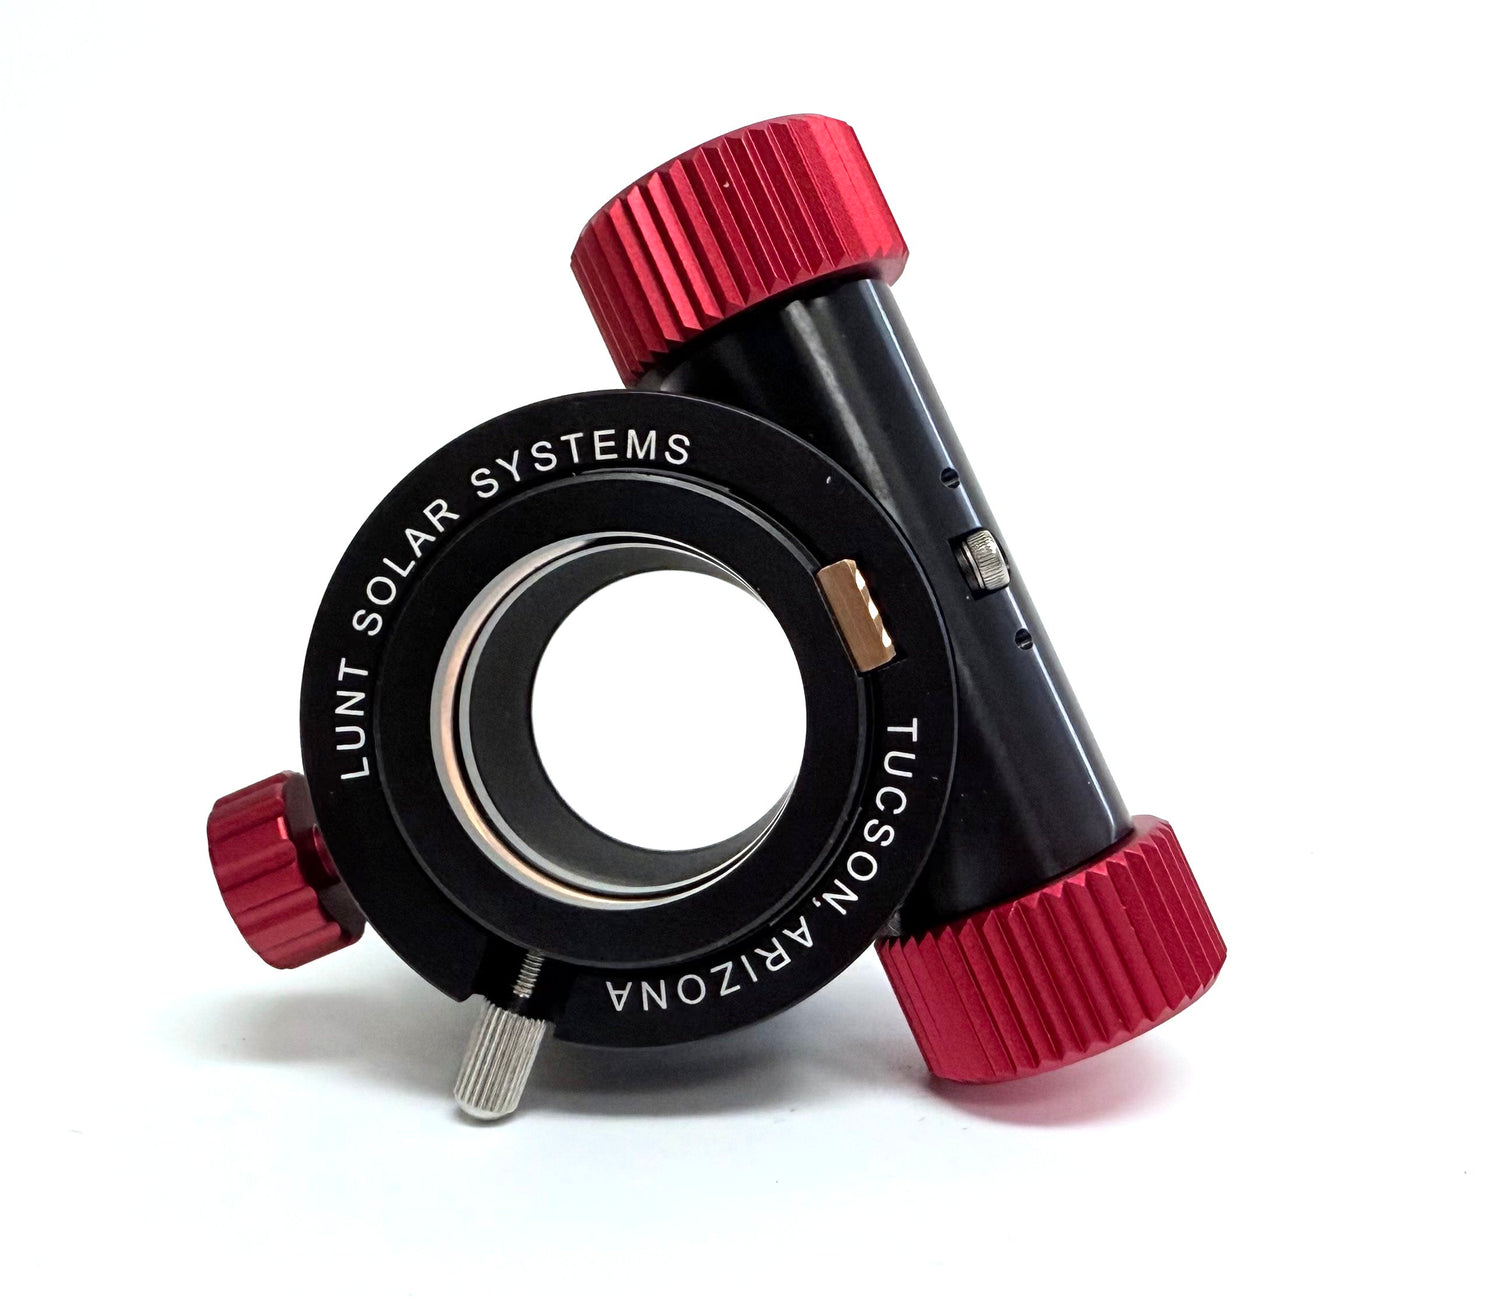
To check your blue glass or BG, we’ll take off the 2″ tube from the blocking filter which will give you access to the cell where the BG lives. We have one here that has turned opaque. Sometimes these problems can look like fungus or something of that sort. The good thing is, it’s an easy fix and we’re happy to help with the replacement.
Accessing the BG
To access the BG, you’ll need a spanner wrench if you have it. If not, you can certainly use a thin pair of needle nose pliers that you might have in your home. What you want to do, if you see the retaining ring here has several holes; you want to engage those holes to unthread that retaining ring. So now you use your spanner wrench or needle nose pliers to remove you retaining ring. Simply place that to the side for now. You’ll be able to drop out the bad piece of BG. Again, you can see this one has turned opaque and will no longer display any detail for you.
Now you want to replace the BG with the new crystal clear piece you will have received from Lunt in the mail. There’s a little shelf here and just put that in place, so you know it’s sitting in there. Put your retaining ring back in. You want to tighten this down all the way.
Tightening
Once you get it tightened all the way, we recommend actually backing off 1/2 turn or even a 1/4 turn. The idea here is to give the filter enough room for expansion because it does heat up quite a bit. If it’s tightened down a little too much, it’s actually going to crack under the pressure, so you do need to allow it to have a little space. Now once you have that back in place, simply put your 2″ tube back on, and you’re ready to view.