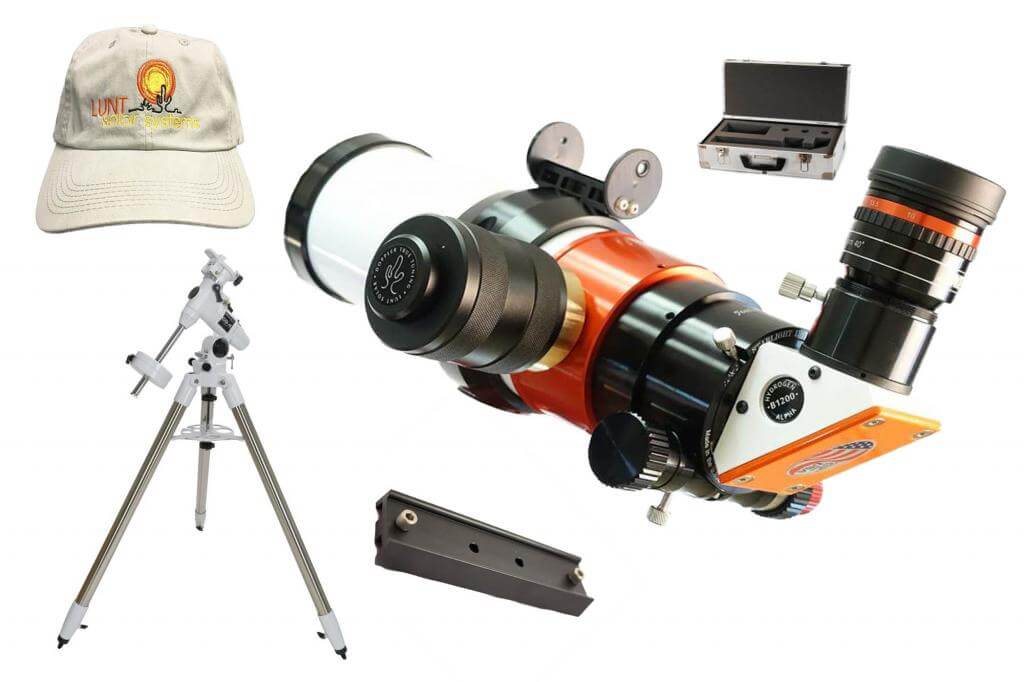
Now that your new Lunt Solar Telescope has arrived, it’s time to get moving and viewing! However, where to start? This blog will go through all the necessary thing to do to view with your new Lunt Solar Telescope.
Unpacking
First things first- inspect the shipping box! All new Lunt Solar Telescopes and products are packed and prepared to handle the rigors of the shipping process. Still, it is advisable to pay close attention to the shipping condition of your received package. Take a look at the condition of your outer box- are there any noticeable breaks, tears, or damage? If so, take caution as you unpack the box. The packing is meant to safeguard your telescope, and as such, even with outer damage, it is very likely your telescope or other telescope products are safe and sound within their foam housings.
Each new Lunt Solar Telescope System item has its own packaging preparations and can vary with its shipping contents ranging from being shipped in cases, foam, etc. Remove your items from the box and their containers carefully, inspecting each piece as you go.
Inspection
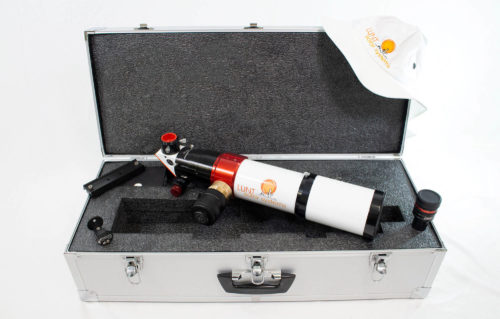
Telescopes- Are all expected portions of your order accounted for? In general, your new Lunt Solar Telescope will come with the blocking filter attached directly to the focuser of your unit as its shipped from our offices. Often our telescopes come paired with a hard case for storage. Remove your case from its packing material, and open appropriately. Inspect the contents of the case as needed. Is there any noticeable damage to the telescope upon removal from its bagging and foam?
Make sure upon removing your telescope your blocking filter is still secured, taking care to check the thumbscrews located on the focuser for optimal tightness, or merely removing your blocking filter from the scope as you remove it from its packaging. Inspect its glass elements that can be easily seen- is the objective clear and undamaged? For your blocking filter, do the elements on either side have any damage or issues? If all is well, you’re one step closer to first light!
Filters
Depending on your purchase of choice, confirm all necessary items are in place. You will find the Filter in its plastic packaging, nestled within the foam packaging. Remove the Filter unit itself, and visually inspect. Is there any noticeable damage? Remove its protective lids and inspect its glass. This glass should be clear, and free of any cracks/scratches or damage. You may notice an apparent tilt in the red glass on the portion of the filter that is pointing towards the Sun- This glass is tilted to reduce reflections and is typical per the unit’s construction.
Take a moment and physically inspect the tuning wheel as well (Reference your product manual for tuning specifics as needed)- The tuning wheel on our tilt tuned products will typically have a free spinning range (to reset the etalon internally back to its parallel positioning with the base of the unit), and after a few turns will build a bit of resistance as the etalon itself is physically being moved for tuning purposes. If you have a question about the resistance of your tuning wheel, or if you believe there may be an issue with its tuning, please contact our offices directly for further advisement.
Viewing
Now that your new Lunt solar telescope or solar product is unpacked let’s get it up and running! However, first- do you have clear skies? Clouds are not the only consideration to be had- atmosphere conditions should also be taken into account. There may not be a cloud in the sky, but high winds and high altitude haze and obscurities can have a significant effect on the quality of your viewing. With any luck, you are free of clouds, clear-skied and good to go- let’s move forward.
Telescopes
Depending on your specific telescope choices, there can be any number of ways that you will move forward from unpacking. Take care to make sure your telescope is in its correct configuration with all necessary items attached (and of course with its objective lids removed). If you happened to have purchased a Sol-Searcher, attach it! At this point you can move forward with securing the telescope to the mount of your choice, utilizing your clamshell/dovetails as necessary. Once your telescope is secured and mounted, let’s find the sun.

If you happen to have a Sol-Searcher already attached, use its handy screen to get the sun into view. If you do not have a Sol-Searcher, don’t fret! It may take longer to find the sun, but you will do it! If utilizing a clamshell, pay close attention to the shadows from your objective cast onto the clamshell. These will be a good indication for the placement of your telescope with reference to the sun. Though it may seem like the Sun would be impossible to miss, getting it into view the first few times can be tricky- take your time and observe as you go. Over time, finding the Sun with your telescope on the fly will become second nature!
Focus
Now that you have your telescope up, and you’ve located the sun, it’s time to get focused. Literally. Make sure you have your eyepiece attached and secured and take a look. Typically, but dependent on your telescope setup, the blocking filter should be pulled out 1-2” from the focuser housing- make sure your thumb screws are tight! Adjust your focus knobs on either side of your focuser depending on your preference, and get that clear, crisp edge! Once your edge of the solar disc is in focus, it’s time to tune. If you have a tilt model, slowing work your tuning wheel from its freely moving resting position until you start to feel resistance.
Keep a close eye on your view and tune until your optimal views are set! There is a learning curve for tuning any solar telescope, but keep at it! If you have a pressure tuned model, first remove your pressure tuner assembly knob (the black portion threaded onto the body of the telescope via brass threading) to equalize the pressure. From there, reattach your pressure tuner knob and start turning it inwards to tune your telescope. You will see a gradual change in views as your details come into view as you build pressure- and much like the tilt model, adjust per your personal preference for your best views.
External Filters
If you have happened to purchase an external filter set for an existing refractor or to double stack one of our Lunt Solar Systems units, your tuning methodology will be very similar to that of the Tilt tuned telescope. Secure your external filter to your telescope, along with your accompanying Lunt Solar blocking filter. Please remember: Lunt External filters must be used in combination with a Lunt Solar Blocking Filter for your eyes safety! Do not mix and match Solar viewing products as often the internal elements are not identical across the different manufacturers.
A solar filter from one company may rely on an element found in its blocking filter, that may not be present in an alternative company’s blocking filter options. Once you have your external filter attached, let’s get to tuning. Turn your tuning wheel on the filter itself, going past its free turning resting position until you begin to feel resistance. Much like the Tilt Tuned telescopes, at this point the etalon inside the filter will begin to tilt physically, allowing you to come on band for Hydrogen Alpha viewing. Once you have your best views, enjoy and adjust per your needs as you wish
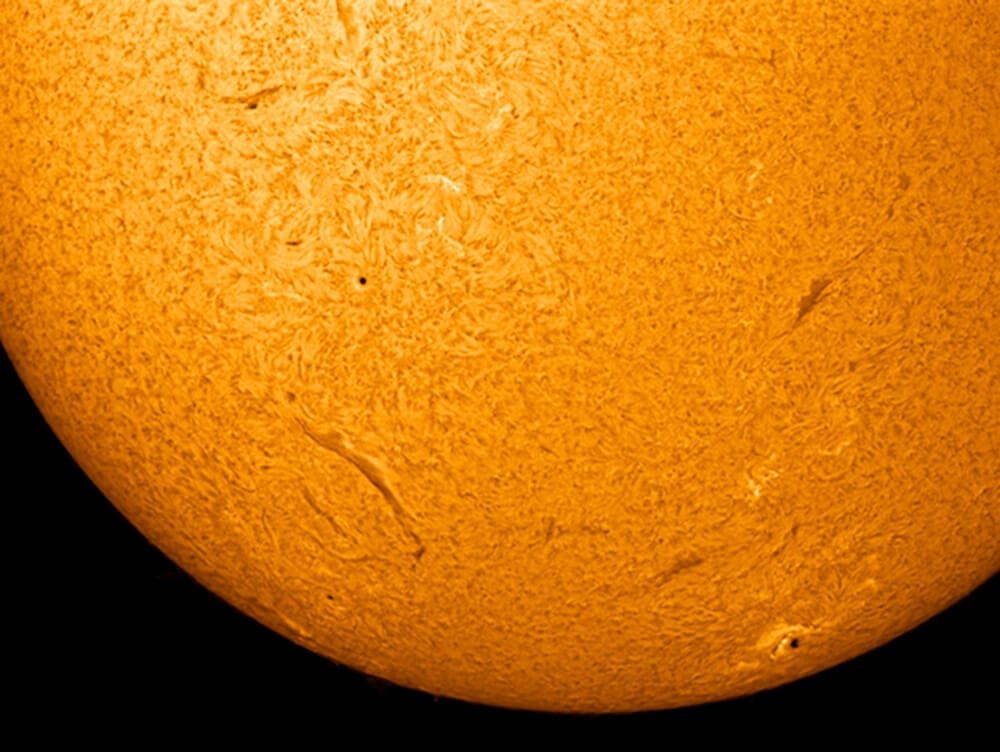
So there you have your basics. Now your telescope is up and running. Hopefully, you have clear skies with the Sun in full view, and your Hydrogen Alpha fever is just beginning!


