
Solar Observation Guide: How to View the Sun Through a Hydrogen-alpha Telescope
Your complete introduction to hydrogen-alpha solar astronomy — from first light to advanced observing.

What Makes Solar Observation Different
If you have ever looked through a nighttime telescope, you already understand the basics of astronomical observing. But solar observation through a hydrogen-alpha telescope is an entirely different experience. The Sun is not a dim, distant object you are struggling to resolve. It is a bright, dynamic star that fills your eyepiece with activity — and it changes while you watch.
The key to solar observation lies in understanding the hydrogen-alpha emission line at 656.28 nanometers. In normal daylight, this specific wavelength represents a tiny fraction of the total light reaching your eyes. But when isolated by a specialized etalon filter with a bandpass of 0.5 to 0.7 angstroms, this narrow slice of the spectrum reveals the Sun’s chromosphere — a turbulent layer of ionized hydrogen where the most dramatic solar activity takes place.
Everything you see through a hydrogen-alpha solar telescope — the prominences, the filaments, the flares — is hydrogen. Ionized hydrogen atoms in the chromosphere emit this distinctive red light when electrons drop from the third to the second energy level, a transition known as the Balmer-alpha line. Your solar telescope is essentially a hydrogen detector, tuned to watch one of the most abundant elements in the universe do extraordinary things.
Your First Look: What to Expect
First-time solar observers often expect to see dramatic, highly detailed features the moment they put their eye to the eyepiece. That expectation can lead to disappointment if you do not understand what is actually happening when you first look.
When you initially peer through a hydrogen-alpha telescope, you will see a red-orange disk against a black background. That is normal. It does not mean the telescope is broken or the filter is not working. Several things are happening simultaneously:
Your pupils need to adjust. During daytime, your pupils are constricted to manage bright ambient light. When you look into the eyepiece, your eye is suddenly receiving light from only a very narrow bandwidth. Your pupils need time to dilate and your retina needs time to adapt to this unusual wavelength. This process takes 15 to 30 seconds.
Your brain needs to catch up. Your visual cortex initially processes the image as simply “red circle on black.” Subtle contrast differences within the solar disk are not immediately apparent. With patience, your neural processing refines and you begin to distinguish features.
Blocking ambient light helps. Cup your hands around the eyepiece or drape a dark cloth over your head. Reducing stray daylight entering your eye dramatically improves contrast and speeds up adaptation.
After 30 seconds to a minute, the transformation begins. The flat red disk starts revealing texture. Bright patches emerge. Dark threads appear across the surface. And at the edge — the limb — you start to see structures rising off the Sun into space. This is the moment most observers say “Wow.”

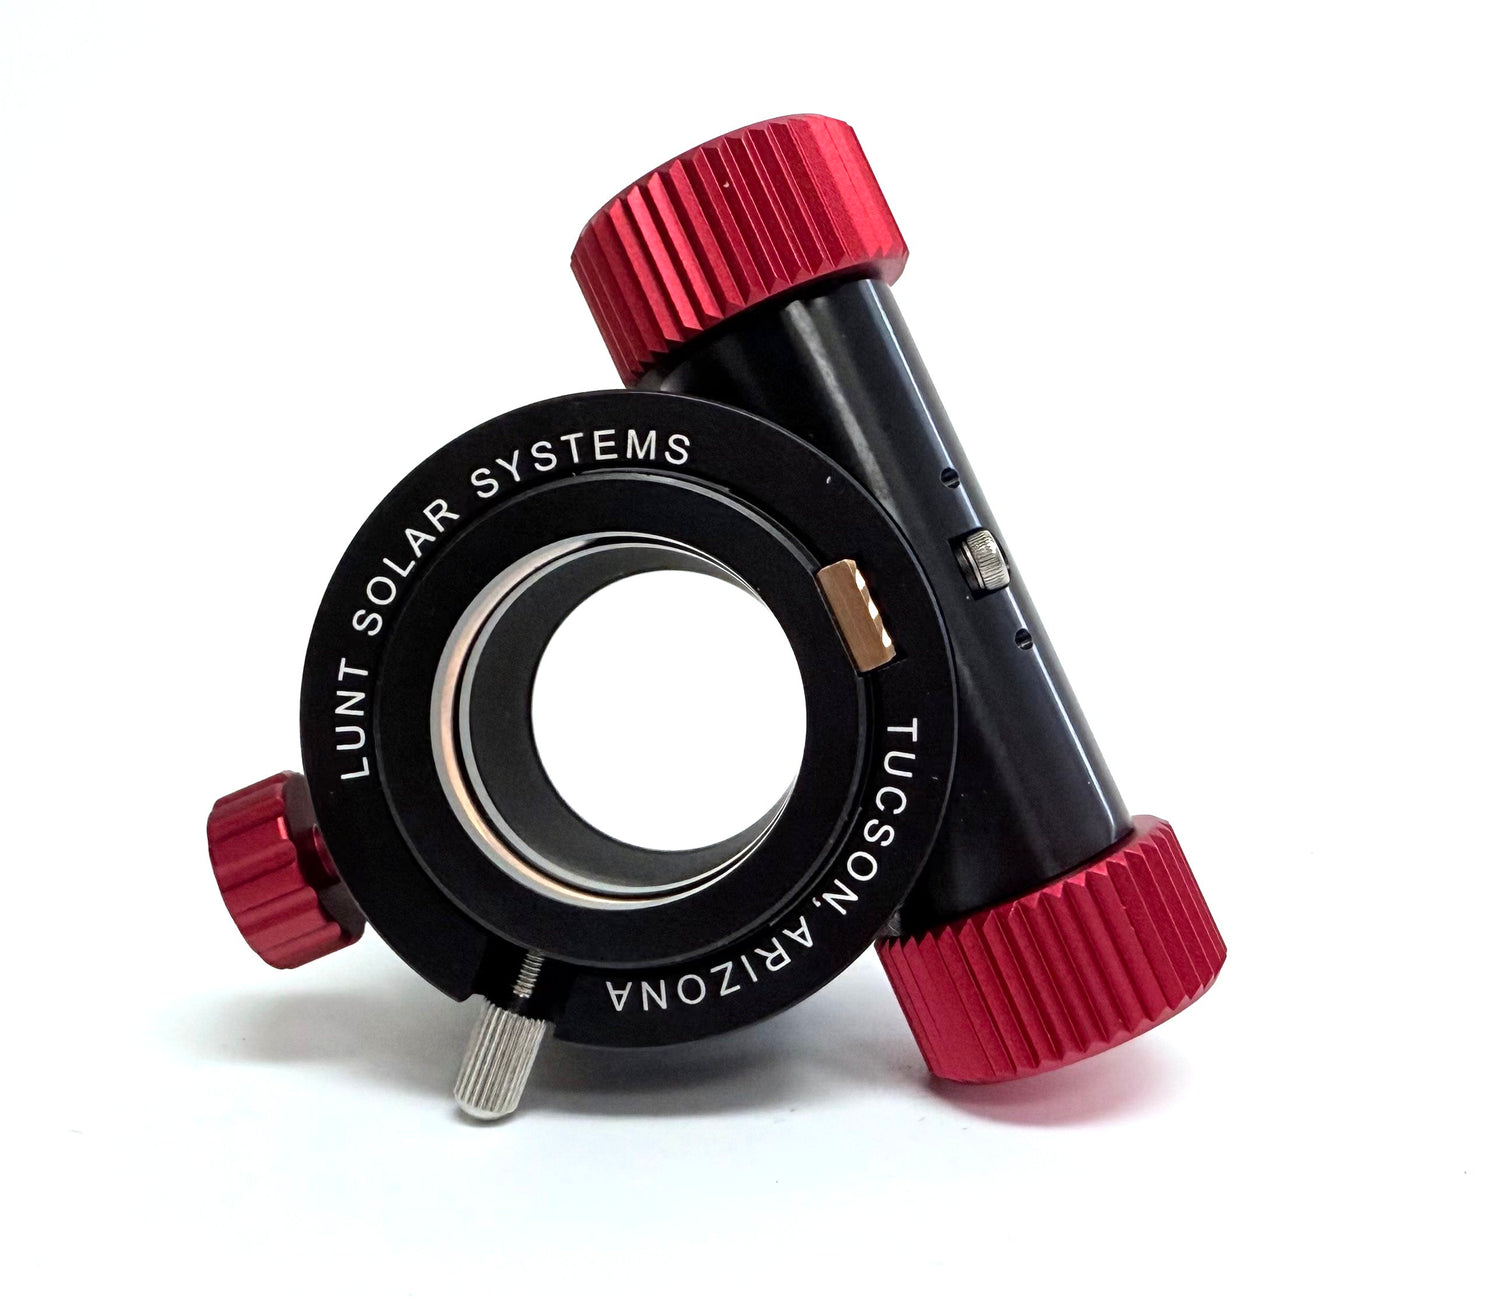
Paul Margolies
Lunt LS130MT Modular Telescope
How to Focus a Solar Telescope
Critical safety note: Never attempt solar observation without a purpose-built solar telescope or a certified solar filter designed for your specific instrument. Looking through an unfiltered telescope at the Sun will cause instant, permanent eye damage. Every Lunt telescope incorporates multiple redundant safety filters — this is not optional equipment.
With that understood, proper focusing technique makes an enormous difference in what you see. Many first-time observers who report a “blurry” or “empty” view simply have not achieved sharp focus. Every observer’s eyes are slightly different, so never assume someone else’s focus setting will work for you.
Step-by-step focusing procedure
1. Start by deliberately defocusing. Turn the focus knob until the Sun’s disk is clearly out of focus. This gives you a known starting point.
2. Focus on the limb, not the surface. Bring the edge of the Sun into sharp focus first. The limb provides a clear, high-contrast boundary between the bright solar disk and the black background of space. When that edge looks crisp and knife-sharp, you are at or very near true focus.
3. Refine with fine focus. If your Lunt telescope includes a dual-speed focuser with 10:1 fine focus, switch to the fine focus knob for the final adjustment. You will be surprised at how much additional detail emerges with just a tiny tweak.
4. Adjust for your eyes. If you wear glasses, you may be able to observe without them by adjusting focus to compensate, or you may prefer to keep them on. Either works — just refocus for your configuration.
A note about atmospheric seeing: Just as atmospheric turbulence affects nighttime astronomy, it also affects daytime solar viewing. On hot, humid, or windy days, the Sun’s limb may appear to shimmer or “boil.” This is not a telescope problem — it is atmospheric seeing. The good news is that with practice, you will quickly learn where your telescope’s focus sweet spot lies. The Sun is at a fixed distance, so the day-to-day focus point changes very little.
What You Will See: Solar Features in Hydrogen-Alpha
Once your eyes have adapted and your focus is dialed in, a hydrogen-alpha telescope reveals features invisible in any other wavelength. Here is what to look for:
At the limb (edge of the Sun)
Prominences are the most immediately striking feature. These are enormous loops and arcs of plasma suspended above the Sun’s surface by magnetic fields, visible as bright structures extending into space beyond the solar limb. Some prominences are stable for days; others erupt violently in minutes. Scale is difficult to grasp until you realize that a single prominence can be larger than the entire Earth.
Spicules are fine, hair-like jets visible along the limb, giving the Sun’s edge a textured, almost furry appearance. These are best resolved in telescopes of 80mm aperture and above, but are detectable in smaller instruments under good seeing conditions.
On the solar disk
Filaments are the same structures as prominences, but seen from above rather than from the side. When a prominence is silhouetted against the bright solar disk, it appears as a dark, sinuous thread. Filaments can stretch across a significant portion of the Sun’s face and persist for multiple solar rotations.
Plage regions are bright, mottled areas surrounding active regions and sunspot groups. They indicate areas of enhanced magnetic activity and are often the first sign that something interesting is developing.
Active regions are areas of intense magnetic complexity that produce the most dramatic solar events. In hydrogen-alpha, they appear as bright, churning zones with complex structure and rapid evolution.
Chromospheric texture is the fine, mottled “orange-peel” pattern visible across the entire solar disk. This represents the dynamic chromospheric network and becomes increasingly detailed as aperture and bandpass narrowness improve.
Rare but spectacular events
Solar flares are sudden, brilliant brightenings in active regions caused by explosive magnetic reconnection events. Flares are classified by X-ray intensity as C-class (minor), M-class (moderate), and X-class (major). Witnessing a flare in real time through the eyepiece is one of the most exciting experiences in amateur astronomy — they can develop in seconds and evolve over minutes to hours.
Coronal mass ejections (CMEs) are massive eruptions of plasma and magnetic field, sometimes visible as rapidly expanding prominence eruptions at the limb. When Earth-directed, these are the events that cause geomagnetic storms and aurora displays days later. Seeing the cause from your backyard and then witnessing the effect as northern lights is a uniquely satisfying experience.

Eddie Bagwell
Lunt LS100MT Modular Telescope
Observation Tips That Make a Real Difference
Scan the limb systematically. Start at the 12 o’clock position and work clockwise around the entire edge of the Sun. Prominences can appear at any position, and a quick scan ensures you do not miss a transient feature.
Tune your etalon. If you have a pressure-tuned Lunt telescope, slowly adjust the tuning through its range while observing. Different features become more or less visible at slightly different wavelengths within the hydrogen-alpha passband. Surface detail sharpens at line center, while prominences may appear brighter slightly off-band. This is Doppler True tuning in action — it lets you explore the Sun in three dimensions.
Observe at different times of day. Atmospheric seeing often varies throughout the day. Many experienced observers find early morning provides the steadiest conditions before thermal convection builds. However, dramatic solar events do not follow a schedule — check the Sun whenever you can.
Give it time. A five-minute session is not enough. Spend 20 to 30 minutes at the eyepiece, returning to features you noticed earlier. Solar features evolve on timescales of minutes to hours. Prominences can grow, change shape, or erupt during a single observing session.
Check space weather forecasts. Websites like SpaceWeather.com and the NOAA Space Weather Prediction Center publish daily solar activity forecasts. When large active regions are present or flare activity is elevated, that is the time to prioritize observing.
Double-Stacking: Taking Surface Detail to the Next Level
Single-stack hydrogen-alpha telescopes provide a bandpass of approximately 0.65 to 0.7 angstroms, which delivers excellent prominence and overall chromospheric views. But if you want surface detail to truly pop — sharply defined filaments, high-contrast plage, fine chromospheric structure — double-stacking narrows the bandpass further.
A double-stacked system combines two etalon filters to achieve a bandpass below 0.5 angstroms. This rejects more of the photospheric background light, dramatically improving contrast of on-disk features. The tradeoff is a slight reduction in overall brightness and prominence visibility. Many experienced observers consider a double-stack upgrade the single biggest improvement they have made to their solar observing.
Lunt offers double-stack capability across the telescope range. The compact LS50C double-stack filter screws directly onto the front of the LS50THa. Larger systems like the 60mm and 80mm Universal Telescopes accept front-mounted double-stack etalon modules. This modular approach means you can start with a single-stack system and add the double-stack later as your interest and skills develop.
Choosing the Right Telescope for Your Observing Goals
Lunt Solar Systems offers hydrogen-alpha telescopes across a range of apertures, each designed for specific observing needs. Here is a practical guide to matching your goals with the right instrument:
|
Telescope |
Aperture |
Bandpass |
Best For |
|
LS40THa |
40mm |
<0.65Å |
Portable grab-and-go solar viewing. Great first solar telescope at an accessible price point. |
|
LS50THa |
50mm |
<0.65Å |
Pressure-tuned with Doppler True technology. Excellent balance of aperture, detail, and portability. |
|
60mm Universal |
60mm |
<0.65Å |
Day-and-night versatility. ED doublet converts from H-alpha to nighttime use in minutes. |
|
80mm Universal |
80mm |
<0.60Å |
Serious solar observing and imaging. FPL53 doublet with tighter bandpass reveals finer detail. |
|
130mm Universal |
130mm |
<0.60Å |
Research-grade aperture. Resolves spicules, fibrils, and fine chromospheric structure. |
|
LS152THa |
152mm |
<0.60Å |
Observatory-class performance. Largest commonly available H-alpha dedicated system. |
Already own a refractor? The LS40F and LS50F front-mounted etalon systems convert your existing telescope into an H-alpha solar instrument. They include a blocking filter and a custom adapter plate machined to fit your telescope’s objective cell at no extra charge.

Solar Observation for Education and Public Outreach
Solar telescopes are uniquely powerful tools for STEM education and public engagement. Unlike nighttime astronomy, solar observing happens during school hours, at community events, and in broad daylight. No dark skies required. No staying up until midnight.
Children adapt to solar observing remarkably quickly and often describe features with vivid language — prominences become “fire,” filaments become “worms,” and the chromospheric texture becomes “bubbles.” Their immediate engagement makes solar observation an ideal gateway into science education.
Solar observation connects directly to multiple STEM disciplines: physics (electromagnetic radiation, plasma behavior, magnetic fields), earth science (space weather, aurora formation), biology (photosynthesis, UV effects), and technology (solar energy, satellite communications, GPS vulnerability to solar storms).
When you observe a major flare or CME through the telescope and then see its effects as disrupted communications or enhanced aurora displays days later, you are witnessing cause and effect on a cosmic scale — from your backyard.
The Sun Is Always Changing — Get Started
Solar Cycle 25 has been remarkably active. We experienced solar maximum intensity through 2024 and 2025, and activity remains elevated as we move through 2026. Active regions, flares, and prominences continue to appear frequently. This is an outstanding time to begin solar observing — the Sun is putting on a show.
And with the August 12, 2026 total solar eclipse crossing Europe, interest in solar astronomy is about to surge. Whether you are drawn by the eclipse or simply curious about what our nearest star looks like up close, there has never been a better time to point a hydrogen-alpha telescope at the Sun.
Every day the Sun presents a different face. Features that were dramatic this morning may have evolved or disappeared by afternoon. New prominences emerge, filaments stretch and snap, active regions flare and quiet. No two observing sessions are alike.
The only way to understand what makes solar observation so compelling is to look for yourself. Set up a solar telescope during the day and invite someone to look — you will be amazed at what our dynamic star has to show.